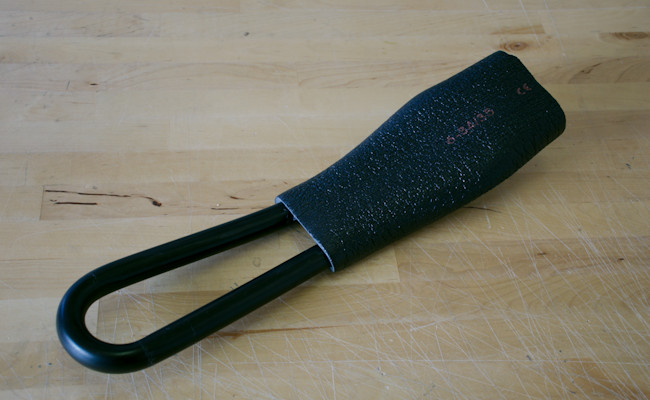
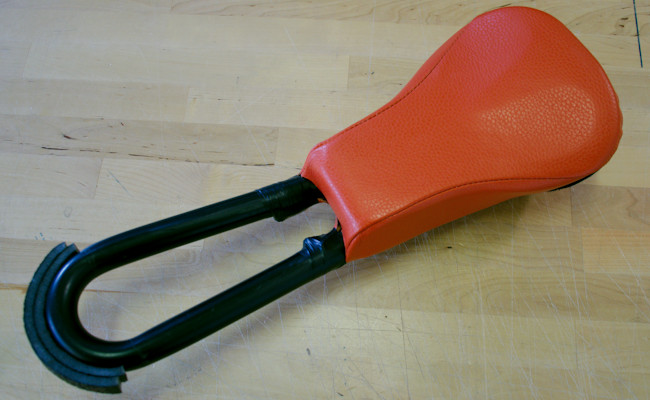
Let's look at the components of the Handle Saddle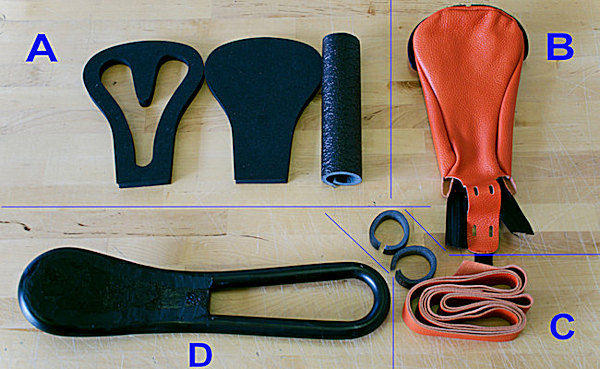
A - the cushion (consisting of 3 elements). The two cushions will be delivered already assembled
B - the seat cover
C - the leather strip covering the loop with two small foam strips to protect the loop
D - the Base of the Handle Saddle with the wooden seat structure. This is a semi-finished product, and is not sold separately, being an integral part of the finished Handle Saddle. We recommend to have also the following available:
- Double-sided tape 15-19mm wide (approx. 50 cm long)
- Duct tTape 50mm wide (approx. 70cm long)
- talc.
How to approach the 2 situations that may arise: I already have the Handle Saddle and I’ve decided to replace only the Cover, i.e. I want to switch from the Cover made with plastic tape to leather Cover. In this case I firstly have to check if the cushion of my Handle Saddle belongs to the latest version of the Handle Saddle’s cushions (its maximum width must be of approx. 16 cm).
YES : the cushion of my HandleSaddle is approx. 16 mm wide. In this case we advice to mount the leather cover over your saddle without removing the tape. To see how to proceed go to point **)
NO: the cushion of my Handle Saddle is narrower, i.e. it is approx. 12 cm at the widest point. In this case I’ve also to replace the cushion, that I’ve to buy separately (see the 3 elements A).
If you have any doubts, take two photos of your HandleSaddle, one from above and one from the side and send them to marco@unaruota.com. We will tell you how to proceed. But now let’s see the various steps.
Let's go step by step:
We replace the cushion
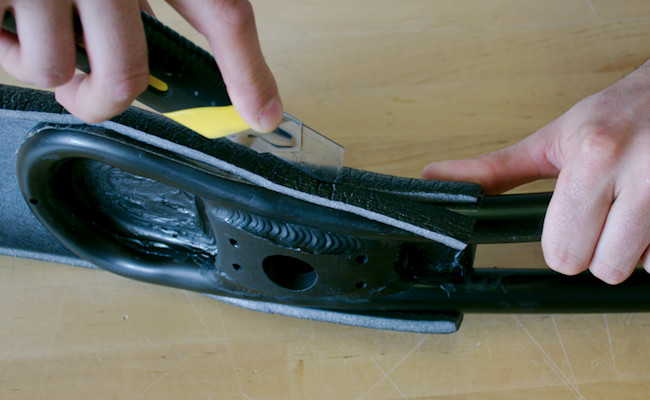
- You have decided not to replace the leather strip covering the loop of your Handle Saddle because it is still in good condition. The strip is held at its ends with adhesive tape. Pay attention not to remove this tape when you take awaythe cushion.
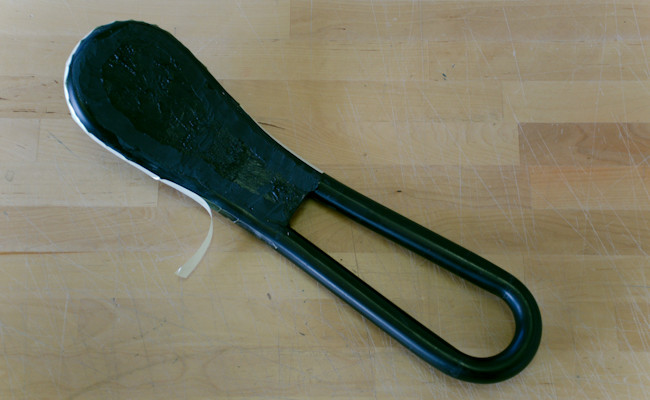
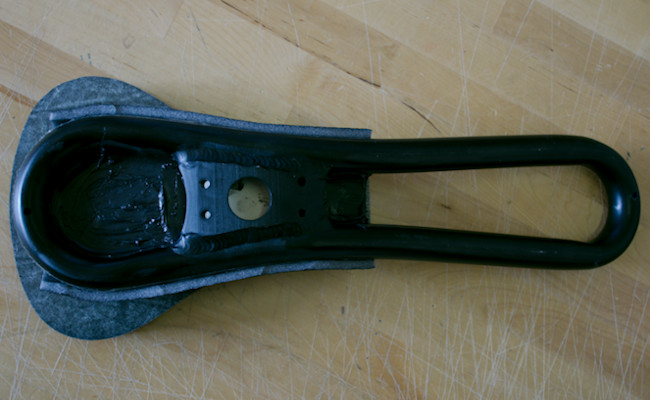
- Remove the cushion by cutting (at the bottom) the tape covering it.
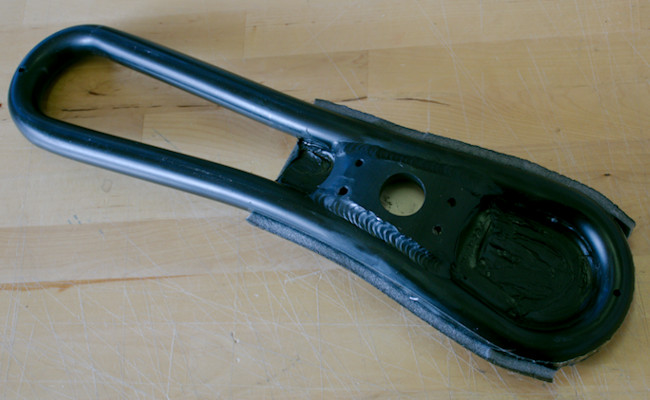
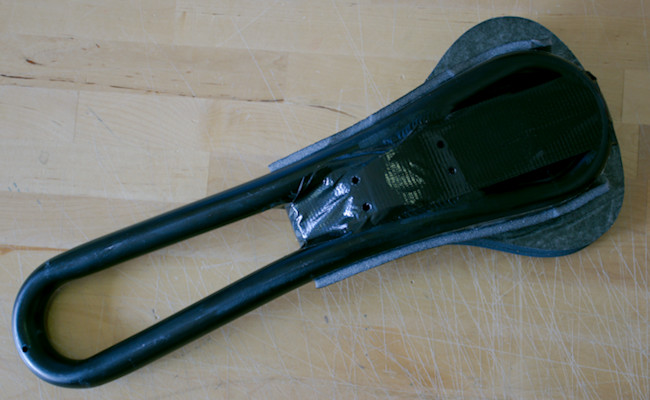
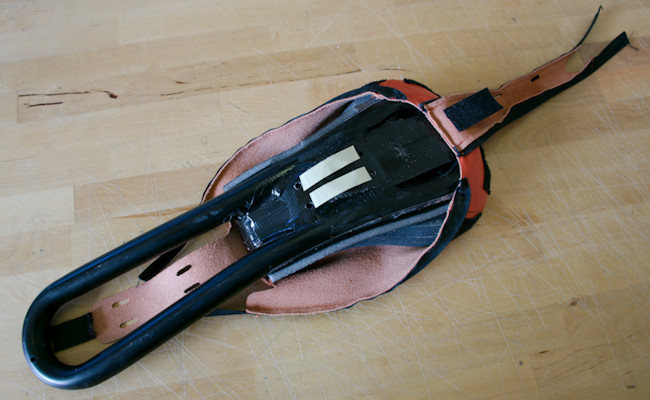
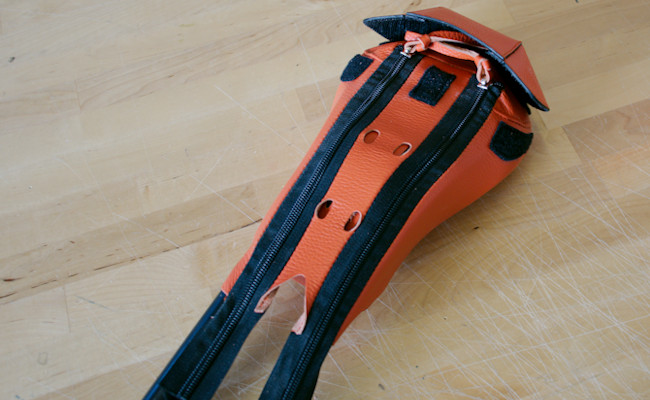
- When the cushion has been eliminated, the HandleSaddle will appear like this (see picture below).
- Stick the double-sided tape along the back of the saddle.
- Place the 5mm foam (A) on the saddle making it stick to the double-sided tape. We advise that the foam protrudes 3-5mm from the front edge of the wooden seat-base.
- Cut off the excess part with a cutter.
- Take the cushion that you received already assembled, remove the protective paper from the glue, place the cushion starting from the front of the foam,that you have previously mounted on the wooden-base. Keep attention to position the cushion centrally to the saddle.
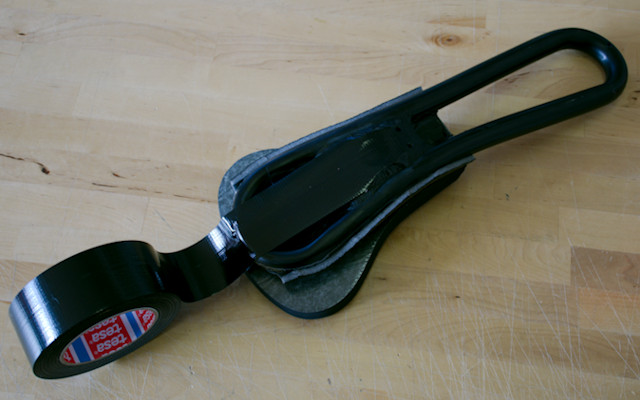
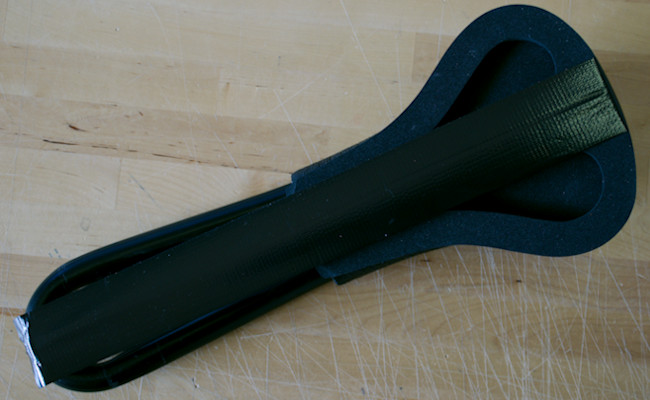
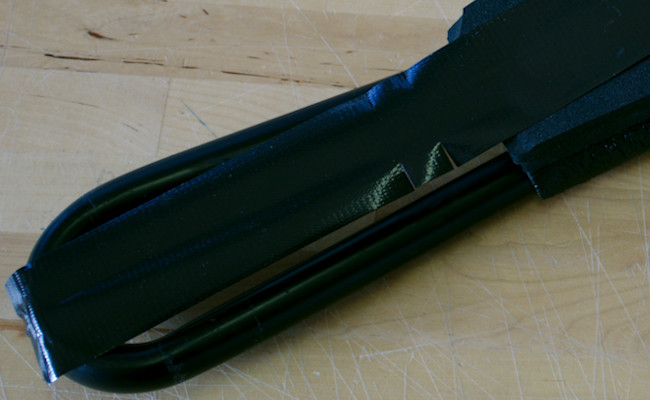
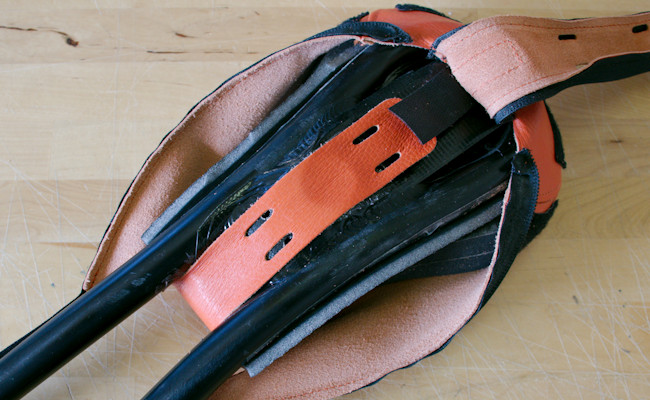
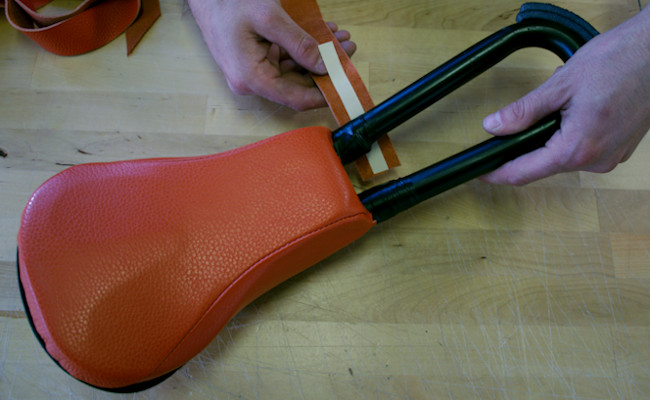
** the Duct Tape, which will hold th cushion in place while mounting the cover. The tape must be applied with the right tension (neither too much, nor too little). Look at the photos below that show you how to proceed. Don’t forget to make little nips on the Duct Tape near the foam. Thanks to them you will avoid anti-aesthetic folds when you fold the tape on itself.
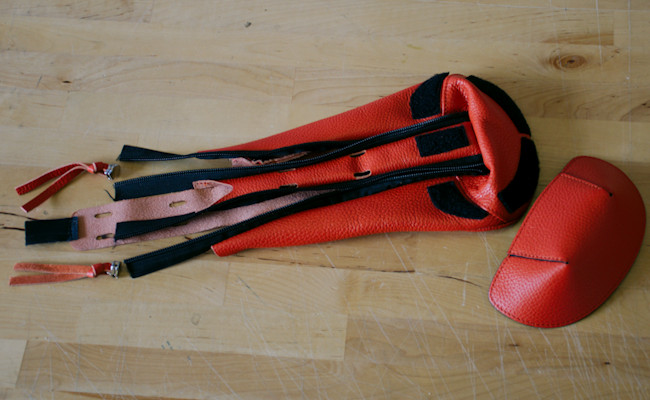
- Take the components B.
Remove the rear protection attached with Velcro and the sliders of the zippers.
- Sprinkle the inside of the saddle-cover with talc.
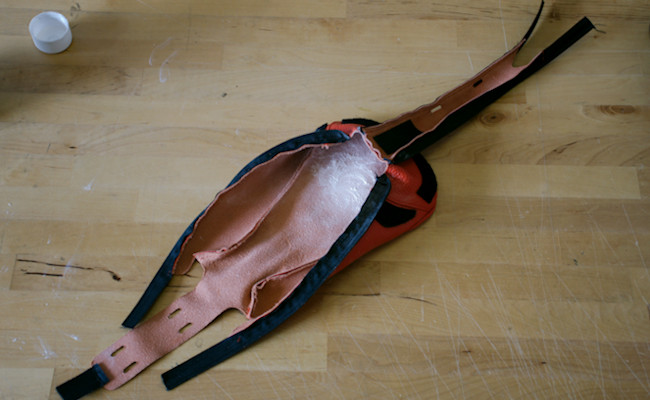
- Now let’s mount the cover. Hold the HandleSaddle firmly and do some strength to put on the cover so that the back seam is as much as possible close to the back edge of the cushion.
- Put two strips of double-sided tape in the centre among the screw holes. They will be used to hold the front part of the cover.
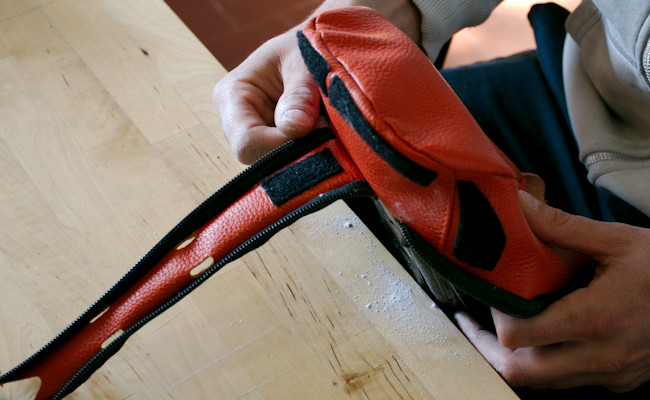
- Let’s tension the front part of the cover do that the edges are placed as much as possible close to the handle.

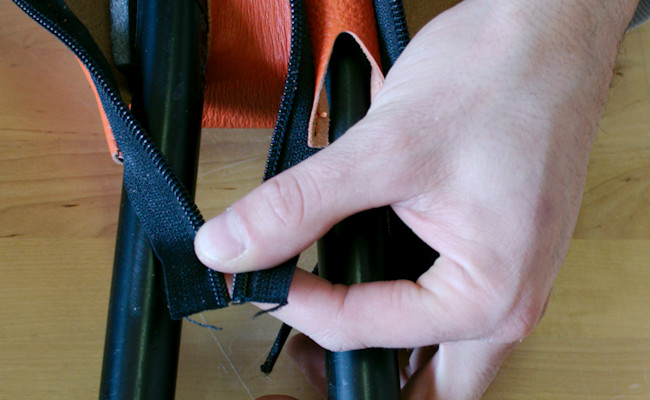
- Reassemble the sliders of the zippers, one after the other. Please hold the zippers as shown in the pictures below.
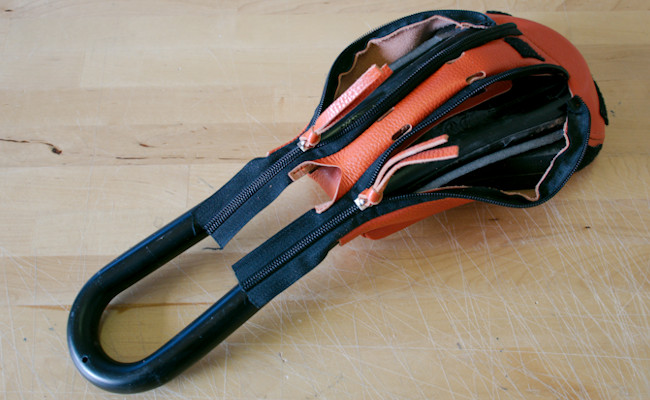
- Close the cover by pulling the two sliders simultaneously. This operation requires a bit of force, but not too much, otherwise you may break everything.
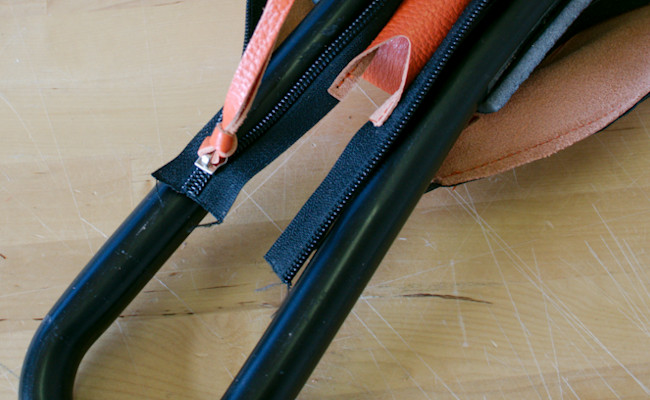
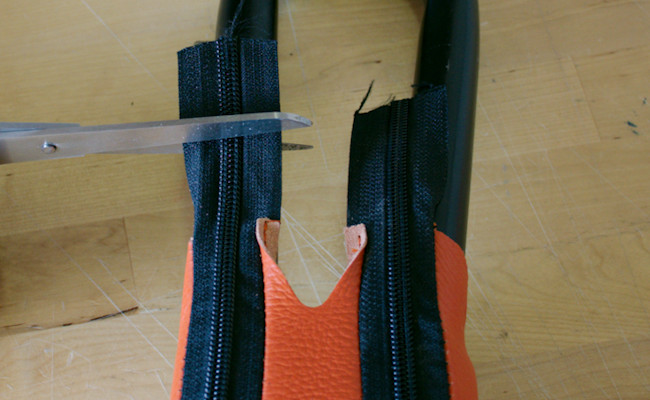
- Shorten the zippers so that they can be folded back on themselves. Take the Duct-tape to hold them firm on the loop.

The mounting of the Cover is done . Don’t forget to mount also the back-cover by sticking it to the Velcro. We replace the leather strip on the loop
- If you decide to replace also the leather strip covering the loop, let’s proceed as follows.
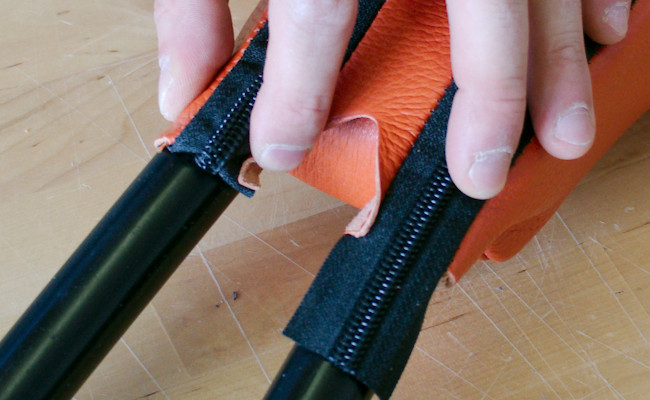
We take away the old strip by starting from its end. Glue the two protective strips of foam C) to the front of the loop. They will absorb shocks and will reduce cuts on the leather strip.
- Glue a small piece of double-sided tape on the leather strip. It will facilitate the start of the winding.If you mount the brake directly on the saddle, leave the part of the handle, where you will mount the brake, uncovered. In this case you must start from the opposite side where you will place the brake, and end the winding of the strip just near it. The leather strip must be well tensioned so that it will not move during use.

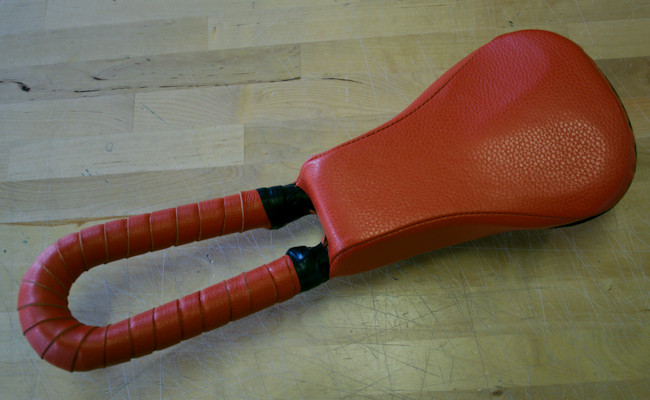
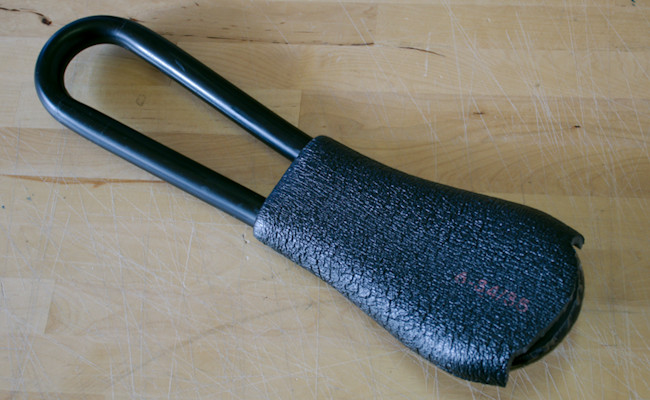
The Handle Saddle is ready.